
بیایید آموزش رو شروع کنیم!
برای کامل کردن این آموزش شما به ابزار زیر نیاز دارید:
Font
Metal Background
Fire Stock Image
مرحله 1
یک سند جدید در ابعاد 1200px * 600px با رنگ سیاه ایجاد کنید. تصویر Metal Background را در فتوشاپ بازکنید و بخشی از آن را مث تصویر زیر انتخاب کنید:

کپی منطقه انتخابی و چسباندن آن بر روی سند و با استفاده از دستور Distort آن را همانند تصویر زیر کنید:
(ایجاد یک جریان، اثر و اضافه کردن مقداری حرکت در تصویر)

همچنین ما می خوایم برای پاک کردن لبه های بافت و برخی از قسمت های آن برای ایجاد عمق، با یک براش نرم با میزان شفافیت %50
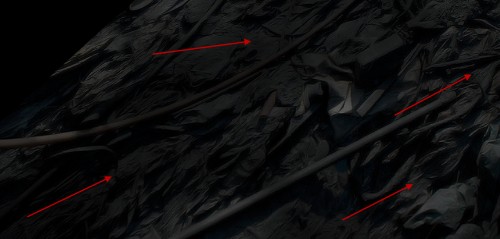
اضافه کردن لایه های تنظیم زیر به این لایه فلزی در بافت:
::Levels::

::Curves::

نتیجه نهایی تاکنون این چنین است:
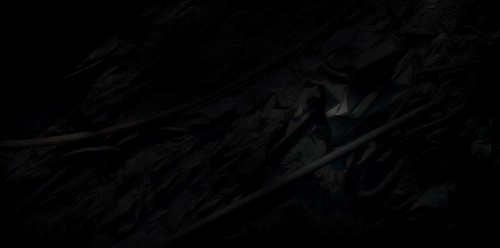
مرحله 2
با استفاده از فونتی که از ابتدای آموزش دانلود کردید، بنویسید مقداری متن بر روی تصویر با رنگ سیاه
در حالی که شما متن را به سختی می بینید، با استفاده از از رنگ سفید استفاده نمایید
سپس برای اولین بار بعد از تبدیل به سیاه و سفید

تنظیمات و سبک های تصویر زیر را به لایه ی متن اضافه نمایید.
::Bevel and Emboss::

::Pattern Overlay::
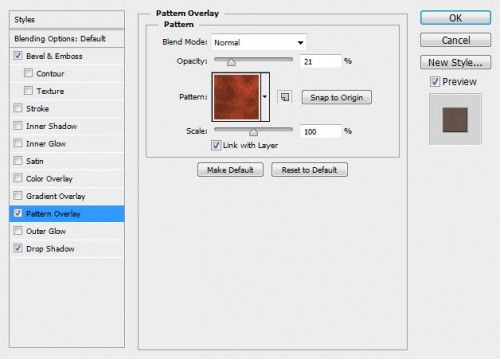
::Use this pattern here::

::Drop shadow::
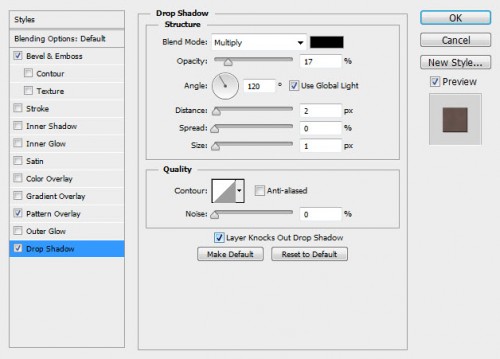
بعد از انجام مراحل بالا تصویر نهایی باید چنین باشد:

Step 3
We will add some fire texture onto the text. Load the fire image into Photoshop and select a piece from the texture with a 30px feather Lasso Tool:

Copy and paste the selection onto our document, resize and position it as shown below: (set this new layer as clipping mask to the text layer)

Duplicate this fire layer twice and keep them as clipping mask to the text layer, move them to other parts of the text as shown below:

We can go back to the fire image and copy over some more fire textures, and place them behind the text:
Hint: adjust their shape and size with the free transform tool for more variety.

Step 4
We will now add some sparkle effect into the text. We will make a selection of the following portion from the fire image with the lasso tool:

Paste the selection onto our text, and change the layer blending mode to “lighter”:

Use a soft erase to remove the edges and fade them into the background:
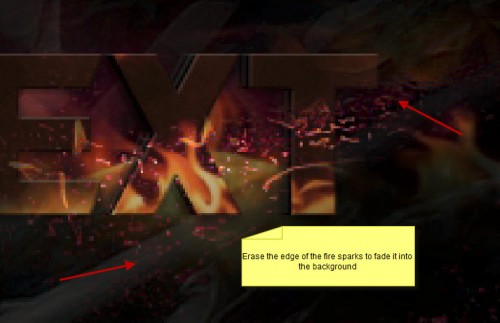
We will repeat this process and add some more sparkles to the text, make sure you resize and rotate each fire layer with the free transform tool:

Step 5
We’re almost done :) For the final touches, I added a curves adjustment layer to adjust the contrast a bit:

I also flattened the image, and applied the following “Reduce Noise” filter effect to sharpen the text:

Optional: I added some “Oil Paint” filter effect (CS6 only) to the text – I found this filter quite useful to soften the image and add some painting effect which looks quite nice:
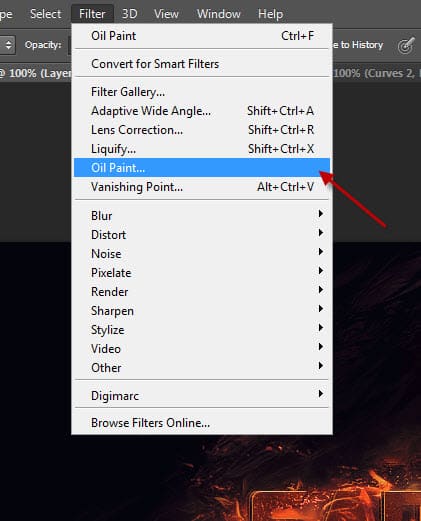
Here is the detailed Oil Paint filter settings I used:

You will have the following effect so far:
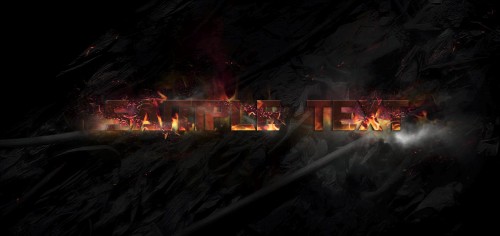
We can add some colour effect to the image, and here is the final effect I have: (click to enlarge)
That’s it for this tutorial! Hope you enjoy it and find it useful! Till next time, have a great day!
برچسبها:
نویسنده: <-BlogAuthor->
